Controlling Azure VM Sizes using Azure Policy
I’ve worked with many organisations who are finding that their Azure consumption costs are spiralling, and they need assistance to identify where this cost is coming from, and how they can best control it.
The most common thing I find when performing this exercise, is that the size of a given resource is much higher than required. For example, an organisation may have an Azure virtual machine that is sized as a D8s_v5 (8 vCPU, 32 GB RAM) but yet when viewing the performance metrics for the virtual machine over 24 hour, 7 day , and 30 day periods, the VM is extremely under-utilised. The same occurs for Azure SQL databases, and lots of other resources.
Right-sizing is required to ensure that the organisation is getting the most bang for their buck, however a balance needs to be struck to ensure that the resource is being well utilised but is not over-utilised to the extent that it impacts performance and degrades the workload that the resource provides.
Right-sizing is workload-dependent, so its not something I’ll touch on in this article, however once a right-sizing exercise is complete, you will have a good feel for the resource sizes in use across the organisation for the various workloads, and those that are much larger than required. It’s important to implement controls to prevent a costly resource being deployed, and that’s where Azure Policy comes in.
Azure Policy allows an administrator to define standards that must be adhered to, and provides a dashboard to easily view resource compliance with those standards. Azure Policy works at scale, too. You can assign a policy and view its compliance state across all subscriptions within your directory, or just to specific subscriptions.
The example scenario
Many organisations use Visual Studio subscriptions to provide a sandboxed Azure subscription for use by teams to test ideas and resources before deploying a production solution. Visual Studio subscriptions come in a few different options, and they provide a certain monetary amount in the form of credits. These credits can be used for deploying resources, and often renew every month. For example, a Visual Studio subscription might provide $120 of credit per month. If the owner of that subscription deploys resources and consumes more than $120 of credit, the subscription is suspended, pausing any resources, until the credits renew.
In this type of scenario, you may wish to allow the owners of those subscriptions to deploy higher-spec virtual machines, as this does not increase the cost of your production subscriptions, and the owners of those subscriptions may need a higher VM size for dev/test, such as nested virtualisation.
So, let’s get into it shall we? I’ll demonstrate how to create two policy assignments that will:
Apply to production subscriptions and restrict the sizes of virtual machines that can be created to D and E-series virtual machines, up to a D8 or E8.
Apply to sandbox subscriptions and restrict the sizes of virtual machines that can be created to D and E-series virtual machines, up to D32 or E32.
How does Azure Policy work?
Microsoft have great documentation available, so I won’t re-write the documentation but to summarise: Azure Policy allows you to set your business rules and describe them in JSON format. Policy will then evaluate resources and actions by comparing the resource properties with the business rule. You can then determine what the response is to an evaluation, such as denying the resource change and altering the resource before the change.
A business rule in JSON format is known as a policy definition.
A policy definition (business rule) can be grouped together with other policy definitions to form a policy initiative. Once your policy definitions are created, you can assign the definition (or initiative, if you have multiple definitions grouped together) to a scope.
The scope can be applied at the following levels
Management Group
Subscription
Resource Group
Resource
You can also exclude scopes from a policy assignment.
Lastly, Microsoft include a number of pre-defined policy definitions for you to use.
A quick overview on Management Groups
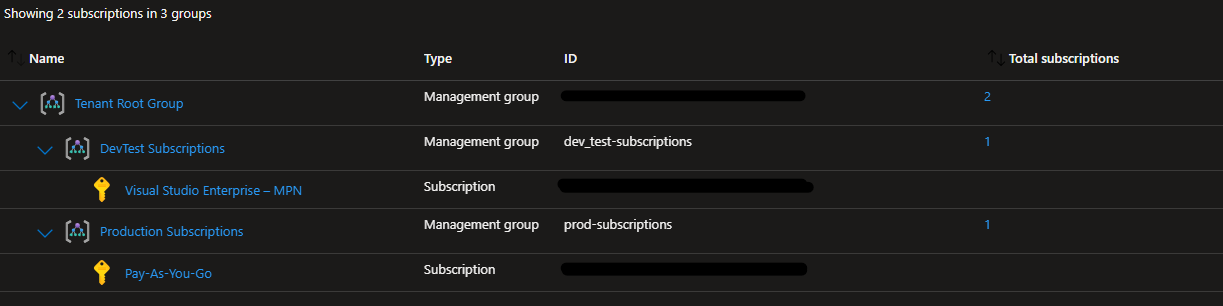
While you can assign Azure Policy at the subscription level, its easier to operate at scale if you use management groups. Management Groups allow you to group subscriptions, and you can then apply Policy at the management group level. Those policies will then apply to any subscriptions, resource groups, and resources within the management group. This is my example set up:
Creating the Policy (Policy 1)
Search the Azure portal for Policy, and then select “Definitions”. Select the “+ Policy Definition” to create your own definition. A definition must reside at a location. For my use, I have chosen the production/dev management group for each definition:

For the business rule (JSON), I’ve used the below:
{
    "mode": "All",
    "policyRule": {
      "if": {
        "allOf": [
          {
            "field": "type",
            "equals": "Microsoft.Compute/virtualMachines"
          },
          {
            "not": {
              "anyOf": [
                {
                  "field": "Microsoft.Compute/virtualMachines/sku.name",
                  "like": "Standard_D2*"
                },
                {
                  "field": "Microsoft.Compute/virtualMachines/sku.name",
                  "like": "Standard_D3*"
                },
                {
                  "field": "Microsoft.Compute/virtualMachines/sku.name",
                  "like": "Standard_D4*"
                },
                {
                    "field": "Microsoft.Compute/virtualMachines/sku.name",
                    "like": "Standard_D8*"
                },
                {
                  "field": "Microsoft.Compute/virtualMachines/sku.name",
                  "like": "Standard_E1*"
                },
                {
                  "field": "Microsoft.Compute/virtualMachines/sku.name",
                  "like": "Standard_E2*"
                },
                {
                  "field": "Microsoft.Compute/virtualMachines/sku.name",
                  "like": "Standard_E3*"
                },
                {
                  "field": "Microsoft.Compute/virtualMachines/sku.name",
                  "like": "Standard_E4*"
                },
                {
                    "field": "Microsoft.Compute/virtualMachines/sku.name",
                    "like": "Standard_E8*"
                }
              ]
            }
          }
        ]
      },
      "then": {
        "effect": "deny"
      }
    }
  }
Once the definition is created, you can then assign the definition. Select the “Assign” button.

As we have pre-defined the VM SKUs in the JSON, there is no other parameters or settings to set. When you assign the policy, it should automatically select the management group based on the management group that the definition is located in. In my example, it was automatically selected to the management group called “Production Subscriptions”.
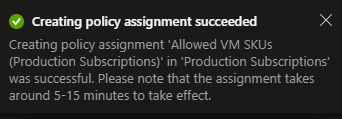
Policy successfully assigned
If I then try to create a virtual machine on the “Pay-as-you-Go” subscription, which is in the “Production Subscriptions” management group, and try to select D16, you’ll see it shows under the VM size category of “Blocked by Policy”
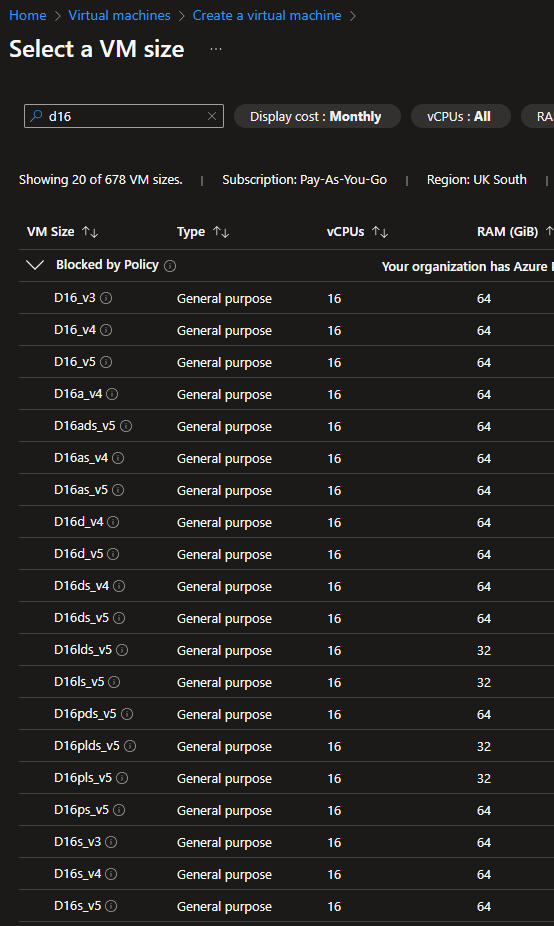
The D16 series is blocked from creation, due to policy.
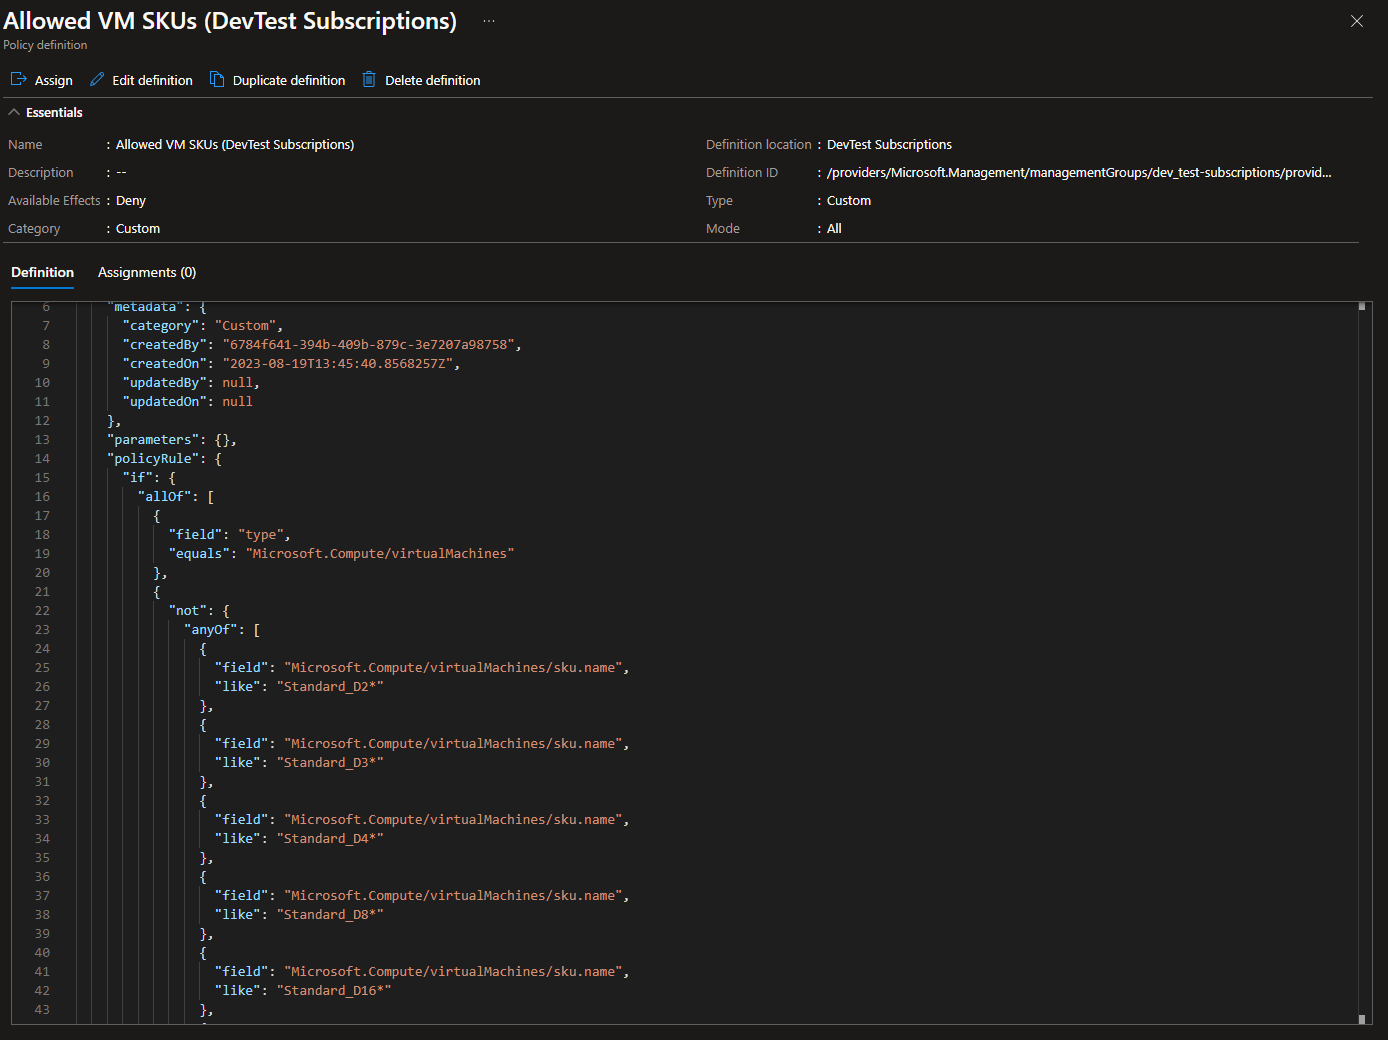
Creating the Policy (Policy 2)
We’ll now go through a similar process to create another definition that allows up to D16 and E16 VMs, another assignment, and demonstrate that creation of an D16 VM in the devtest subscription is permitted.
Search the Azure portal for Policy, and then select “Definitions”. Select the “+ Policy Definition” to create your own definition. A definition must reside at a location. For my use, I have chosen the production/dev management group for each definition:

For the business rule (JSON), I’ve used the below:
{
"mode": "All",
"policyRule": {
"if": {
"allOf": [
{
"field": "type",
"equals": "Microsoft.Compute/virtualMachines"
},
{
"not": {
"anyOf": [
{
"field": "Microsoft.Compute/virtualMachines/sku.name",
"like": "Standard_D2*"
},
{
"field": "Microsoft.Compute/virtualMachines/sku.name",
"like": "Standard_D3*"
},
{
"field": "Microsoft.Compute/virtualMachines/sku.name",
"like": "Standard_D4*"
},
{
"field": "Microsoft.Compute/virtualMachines/sku.name",
"like": "Standard_D8*"
},
{
"field": "Microsoft.Compute/virtualMachines/sku.name",
"like": "Standard_D16*"
},
{
"field": "Microsoft.Compute/virtualMachines/sku.name",
"like": "Standard_E1*"
},
{
"field": "Microsoft.Compute/virtualMachines/sku.name",
"like": "Standard_E2*"
},
{
"field": "Microsoft.Compute/virtualMachines/sku.name",
"like": "Standard_E3*"
},
{
"field": "Microsoft.Compute/virtualMachines/sku.name",
"like": "Standard_E4*"
},
{
"field": "Microsoft.Compute/virtualMachines/sku.name",
"like": "Standard_E8*"
},
{
"field": "Microsoft.Compute/virtualMachines/sku.name",
"like": "Standard_E16*"
}
]
}
}
]
},
"then": {
"effect": "deny"
}
}
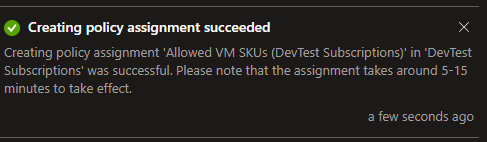
}Once the definition is created, you can then assign the definition. Select the “Assign” button.
As we have pre-defined the VM SKUs in the JSON, there is no other parameters or settings to set. When you assign the policy, it should automatically select the management group based on the management group that the definition is located in. In my example, it was automatically selected to the management group called “DevTest Subscriptions”.
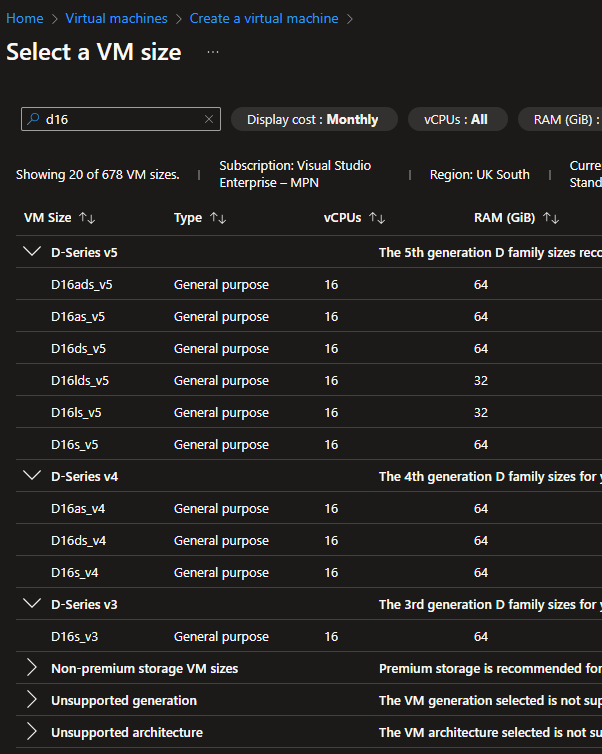
If I then try to create a virtual machine on the “Visual Studio Enterprise - MPN” subscription, which is in the “DevTest Subscriptions” management group, and try to select D16, you’ll see it shows under the VM size category and is not blocked.
Wrapping up
As you can see, Azure Policy can make it much easier to work at scale and ensure that your business requirements can be used to help adhere to cost or operational requirements.
I hope this has been insightful, and as always, feel free to comment below.