Migrating DNS to Azure DNS
I recently decided I would migrate one of my domain’s DNS to Azure. The domain’s DNS provider at the time was GoDaddy as that’s where the domain was registered. I figured I would document the process, including importing the zone file using Azure Cloud Shell and Azure CLI.
Getting the DNS Zone file from GoDaddy
First, login to GoDaddy and navigate to the domain’s DNS, then scroll all the way to the bottom and select “Export Zone File (Windows)”

Once done, you’ll see a download for <domainname>.txt. Such as mydomain.com.txt. Keep hold of this for now.
Creating the Azure DNS zone and importing it with Azure CLI
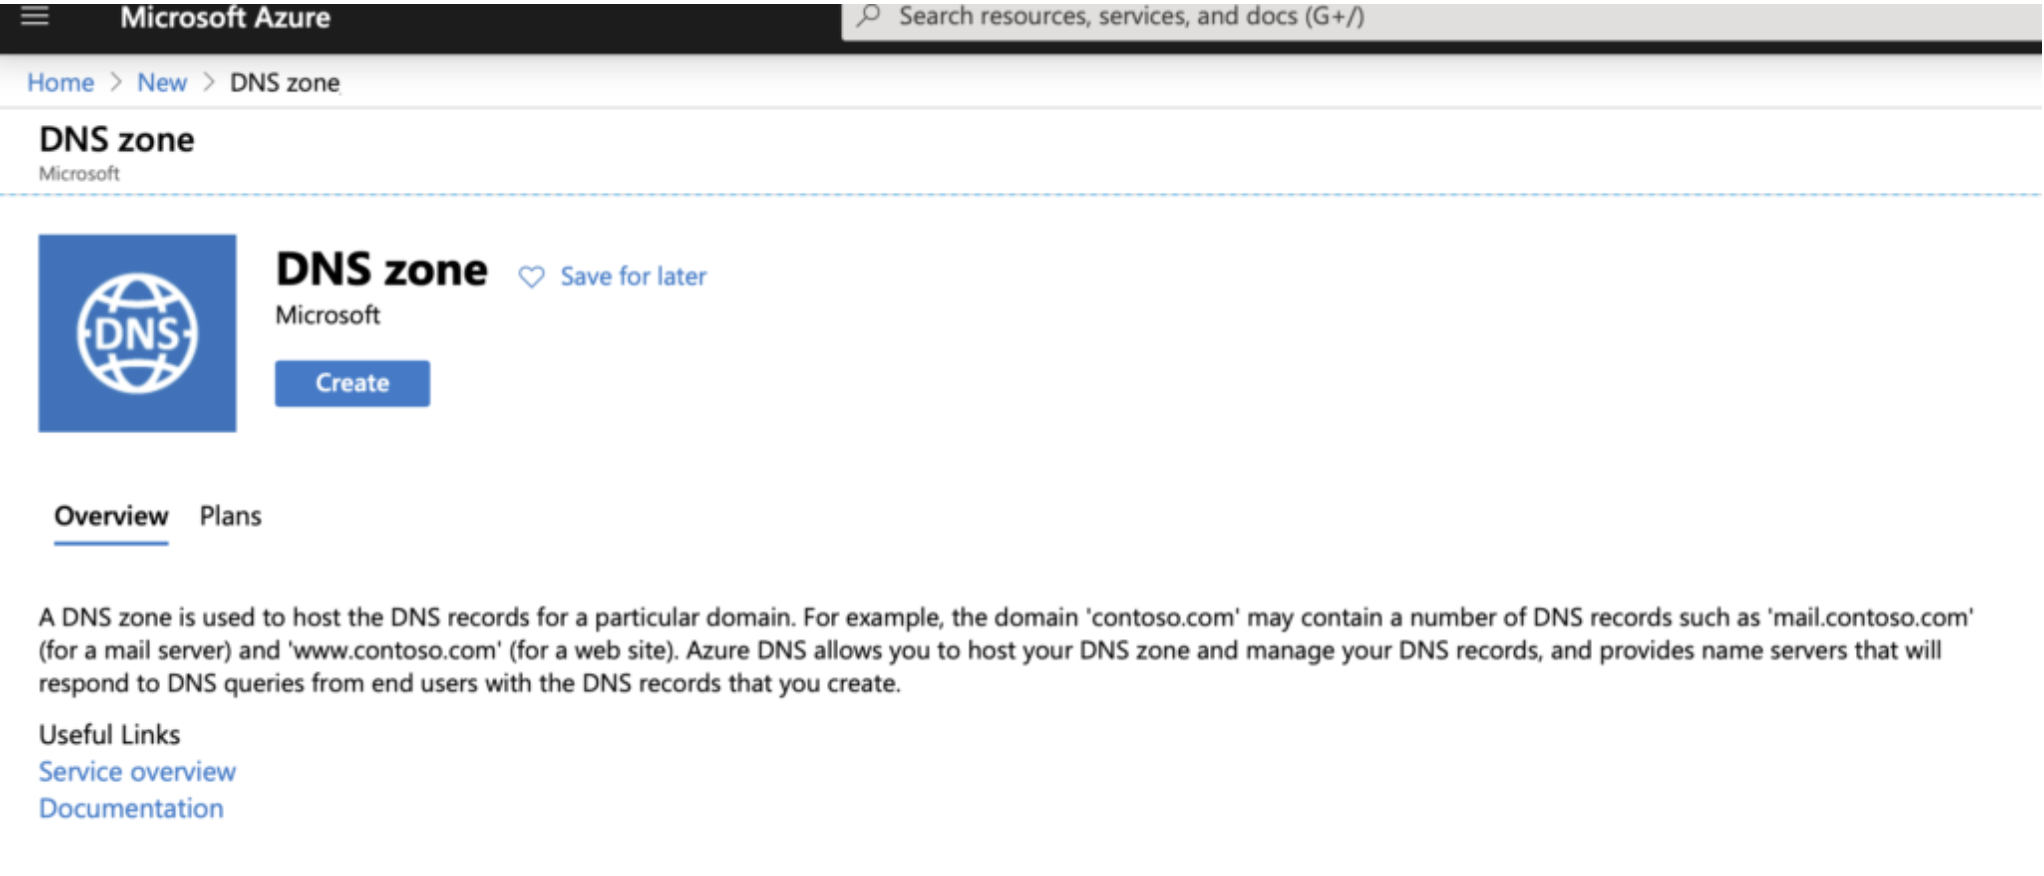
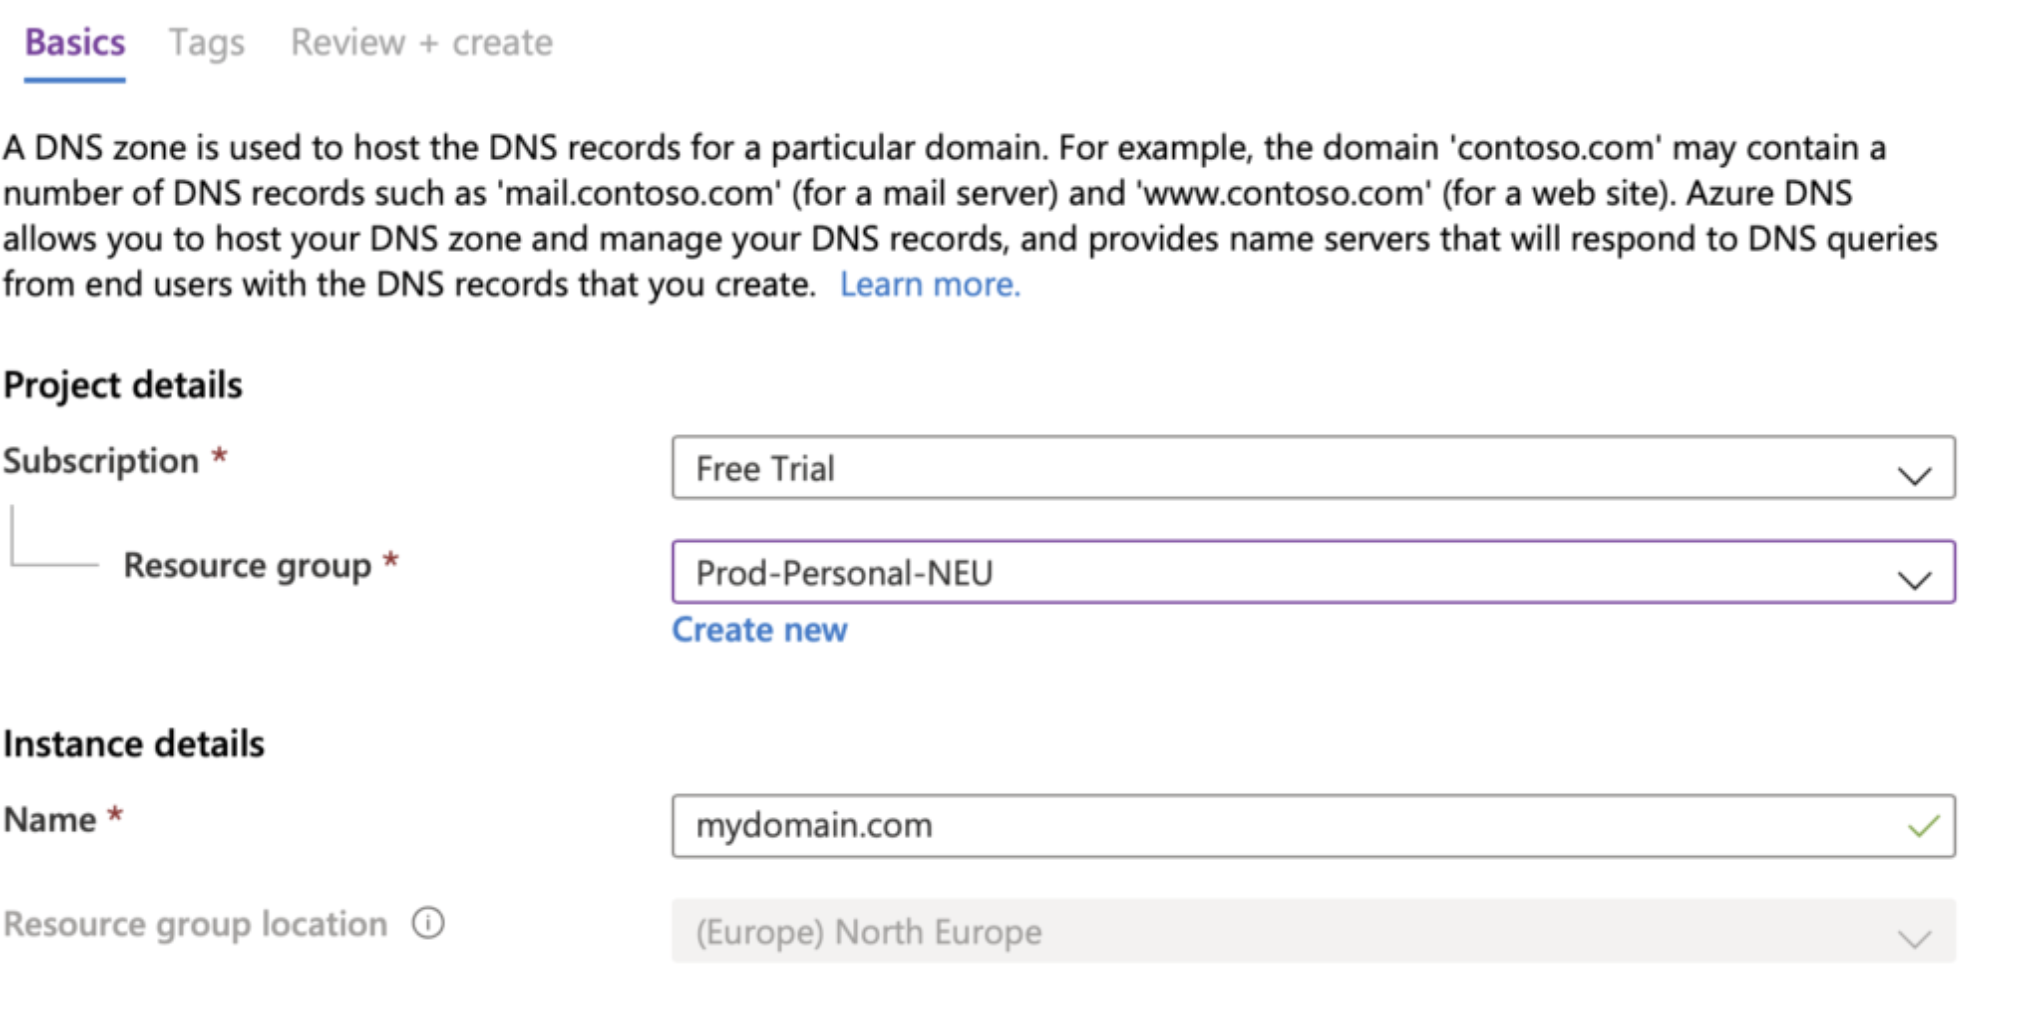
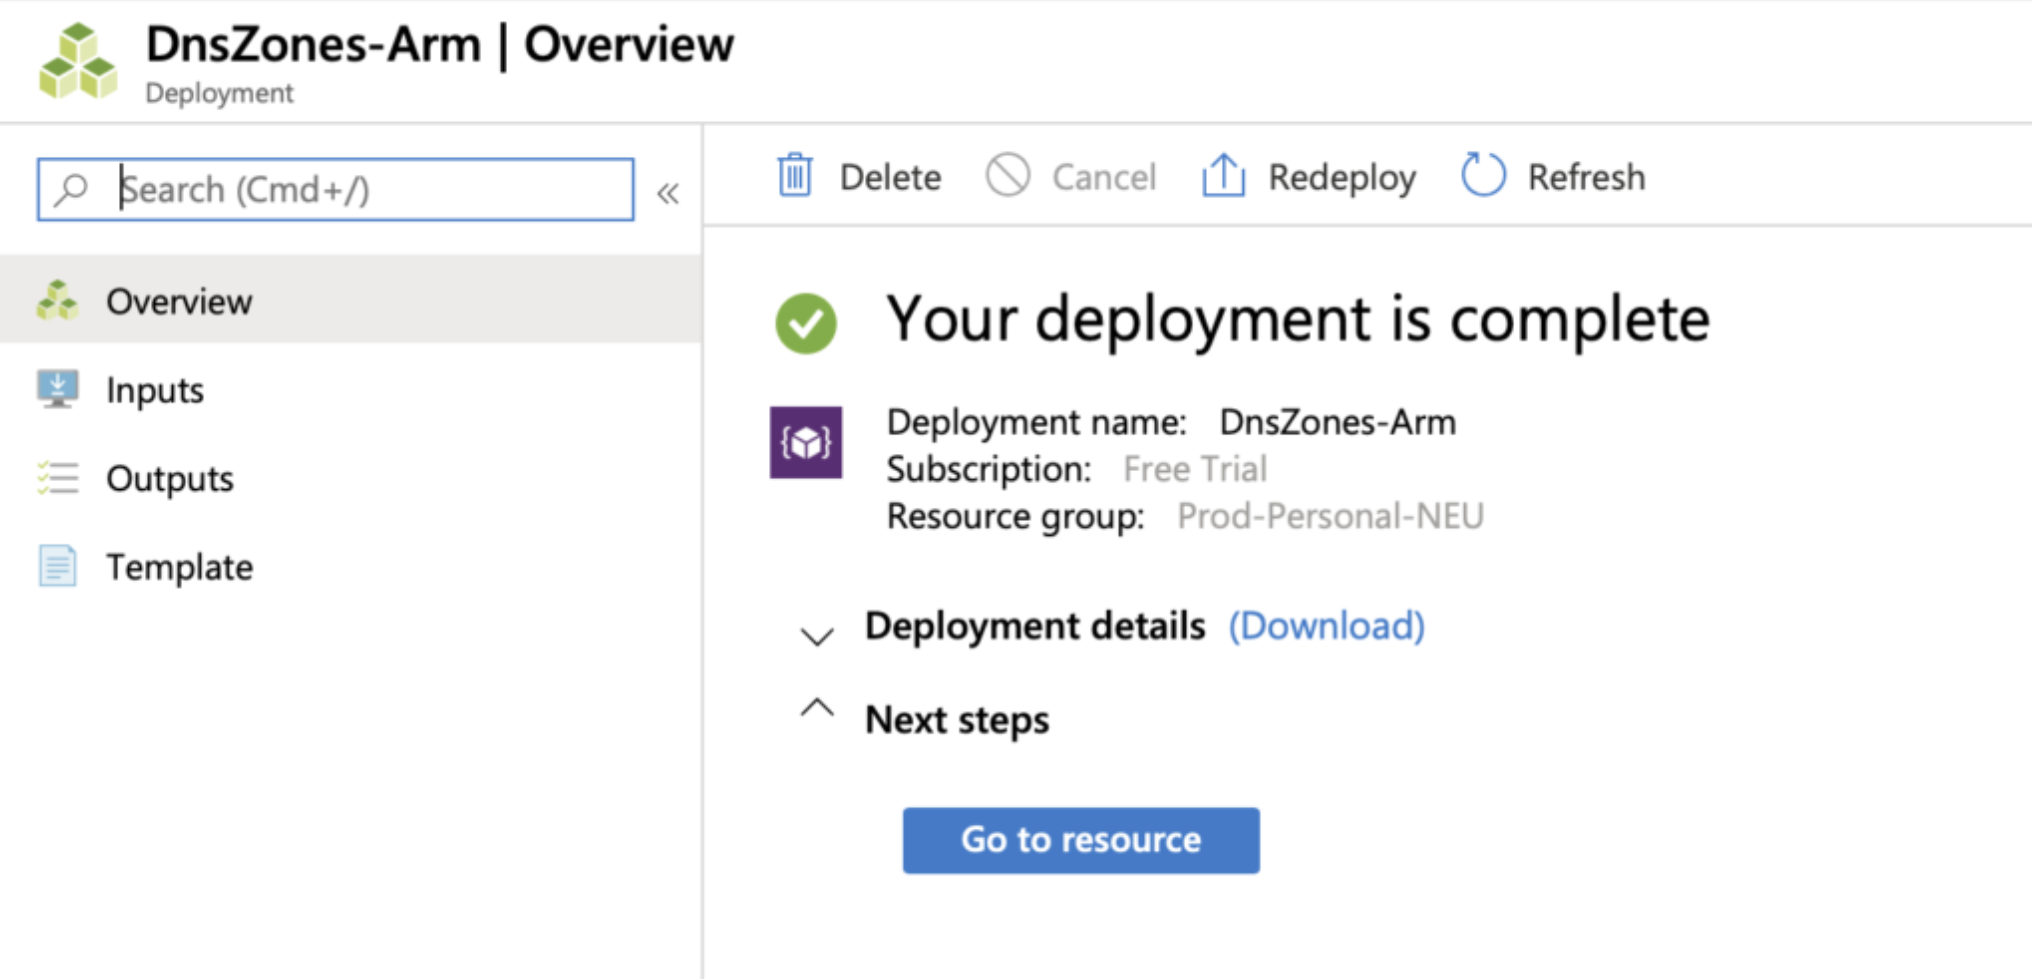
Now, login to the Azure portal and choose to create a resource>DNS Zone.
With the zone complete, head over to the Azure Cloud Shell. You can do this in one of two ways; by pressing the icon in the Azure portal or by navigating to shell.azure.com. I prefer shell.azure.com but it's up to you.

This is the icon, by the way. It’s the one with the PowerShell logo
Before we do anything else, we have to get the zone file into cloudshell's storage. To do this, press the transfer icon and then select "Upload". You can then browse to and upload the domain zone file downloaded earlier.

In Cloud Shell, type in the following command and hit enter:
az network dns zone import -g MyResourceGroup -n mydomain.com -f mydomain.com.txt
Make sure you replace the example values with true values. Below is what each parameter requires.
-g specifies the name of the resource group.
-n specifies the name of the DNS Zone
-f specifies the name of the DNS Zone file
You'll then see all of the records listed as the records are imported. At the end, it should look something similar to the below.

You should be able to now view the records in the DNS Zone in the Azure portal to verify all is well. You can now head on over to GoDaddy to change the name servers, as shown below.

Note that your NS records may differ from mine. You can view your NS records on the overview blade of the DNS zone in Azure.
Thats it! Wait up to 72 hours for DNS to propagate and you're done! You can view the amount of DNS queries are being received by Azure by going to the DNS Zone and then selecting the Metrics blade:

Hopefully you found this guide useful! Feel free to leave any comments below!